Easy Setup: Free Email Service on Android
Setting up a free email service on your Android device is a straightforward process. Below is a guide to help you choose and set up some of the most popular free email services available for Android users.
1. Gmail
Setup Steps:
- Download the App: If not pre-installed, download the Gmail app from the Google Play Store.
- Open the App: Launch the Gmail app.
- Sign In: Tap on "Sign in" and enter your Google account credentials. If you don’t have an account, you can create one directly from the app.
- Permissions: Allow the app to access necessary permissions (contacts, calendar, etc.) for a better experience.
- Customization: Once signed in, you can customize settings such as notifications, themes, and signature.
2. Outlook.com
Setup Steps:
- Download the App: Get the Outlook app from the Google Play Store.
- Open the App: Launch the Outlook app.
- Add Account: Tap on "Get Started" and then "Add Account."
- Enter Email: Input your Outlook.com email address or another email provider (like Gmail) and tap "Continue."
- Sign In: Enter your password and follow any additional prompts for verification.
- Customize Settings: Adjust notification settings and layout preferences.
3. Yahoo Mail
Setup Steps:
- Download the App: Install the Yahoo Mail app from the Google Play Store.
- Open the App: Start the Yahoo Mail app.
- Sign In: Tap "Sign in" and enter your Yahoo email and password. If you don’t have an account, you can create one within the app.
- Grant Permissions: Allow necessary permissions for a seamless experience.
- Personalize: Customize your inbox settings and themes as desired.
4. ProtonMail
Setup Steps:
- Download the App: Find the ProtonMail app on the Google Play Store and install it.
- Open the App: Launch the ProtonMail app.
- Create Account: Tap on "Sign Up" to create a new account. ProtonMail requires you to create a username and password.
- Verification: Follow any verification steps, such as confirming your email or phone number.
- Settings: Once set up, you can adjust your settings for notifications and security.
5. Zoho Mail
Setup Steps:
- Download the App: Install the Zoho Mail app from the Google Play Store.
- Open the App: Launch the Zoho Mail app.
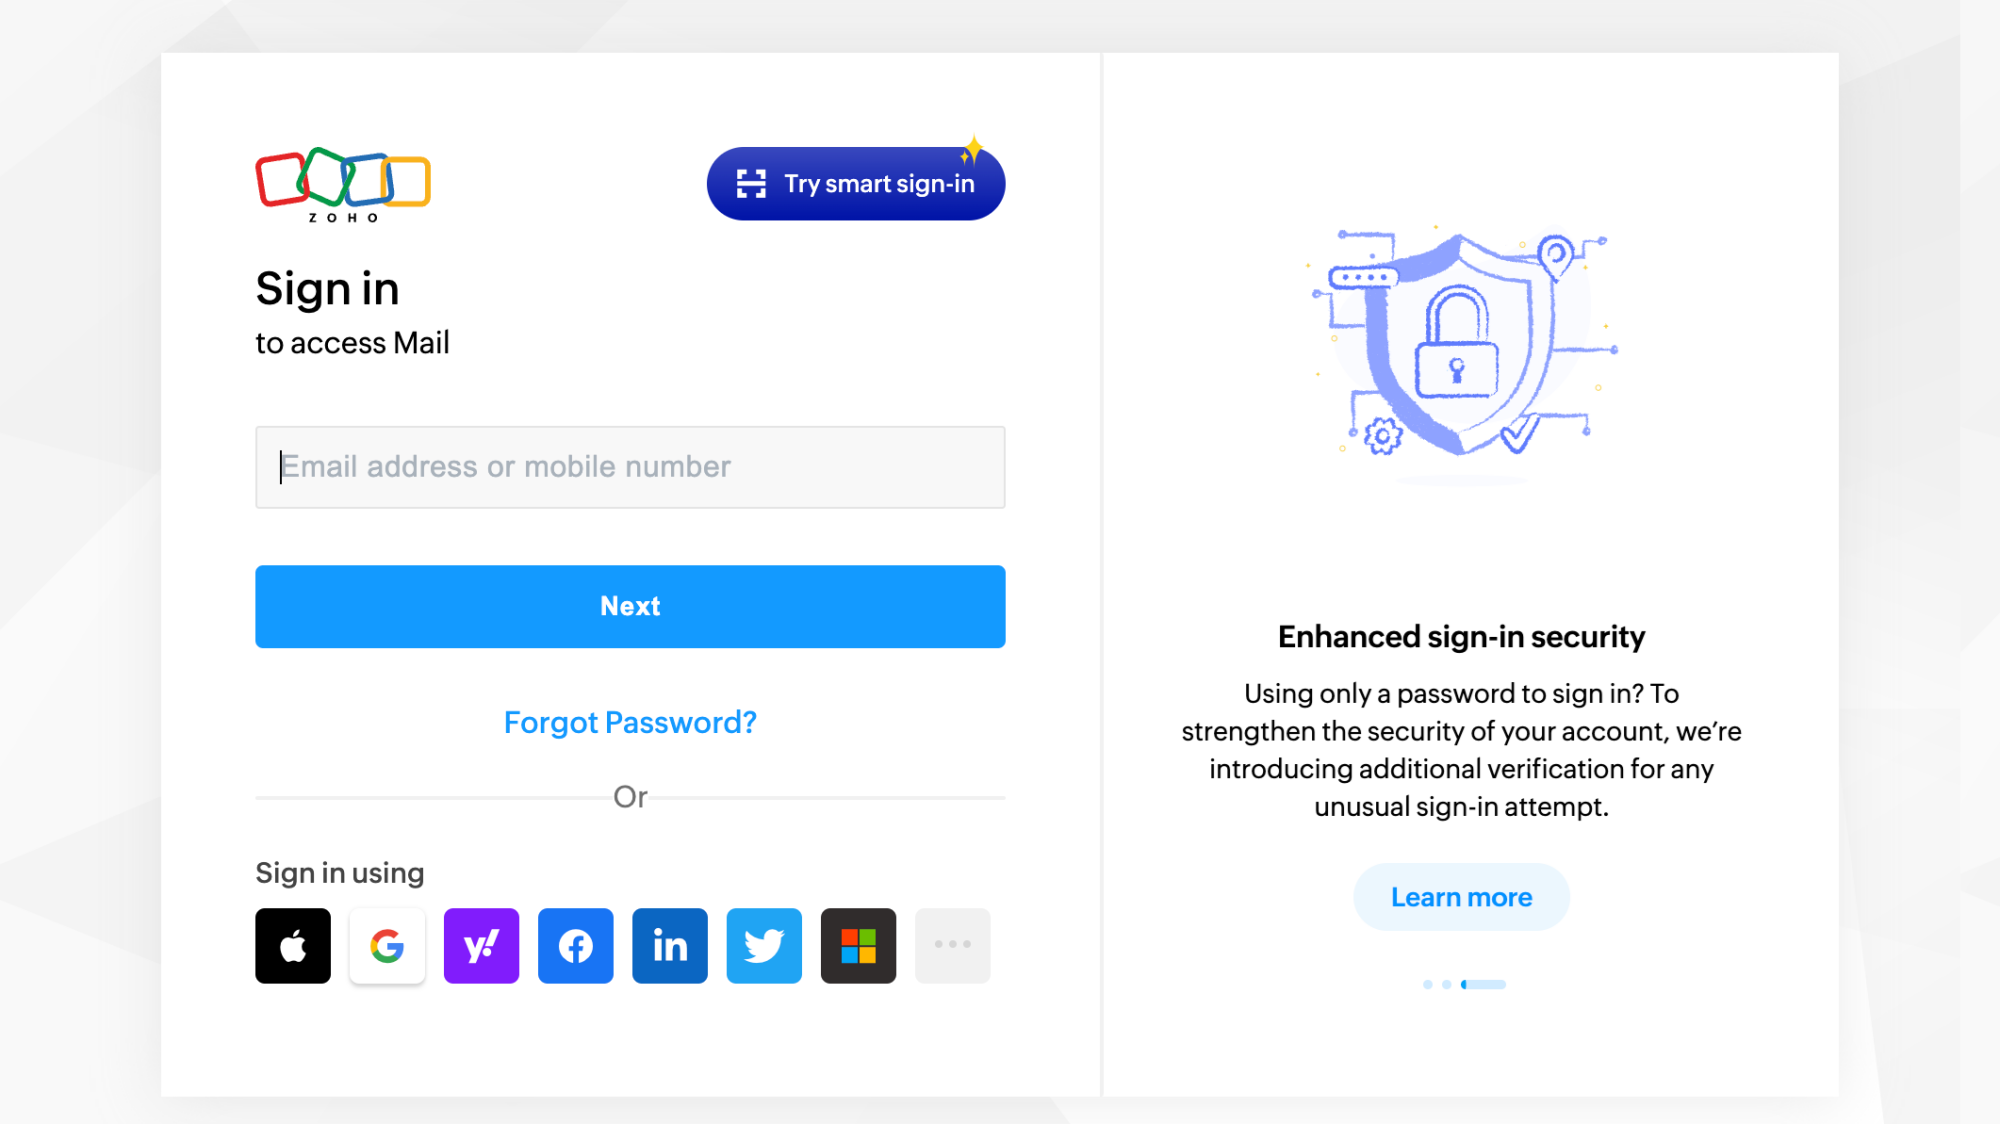
- Sign In: Tap on "Sign In" and enter your Zoho email credentials. If you don’t have an account, you can create one.
- Permissions: Allow the app to access necessary features for optimal functionality.
- Customize: Set up your preferences for notifications and themes.
Tips for Easy Setup
- Stable Internet Connection: Ensure you have a reliable internet connection during the setup process to avoid interruptions.
- Account Recovery Options: Set up recovery options (like a phone number or alternate email) to easily recover your account if you forget your password.
- Explore Features: After setup, take some time to explore the app’s features, such as organizing emails, setting filters, and utilizing calendar integrations.
Conclusion
Setting up a free email service on your Android device is quick and user-friendly. Whether you choose Gmail, Outlook, Yahoo Mail, ProtonMail, or Zoho Mail, each service provides a robust platform for managing your emails efficiently. With just a few simple steps, you can have your email up and running, ready for communication on the go.


