Business Email on Android: Easy Setup Guide
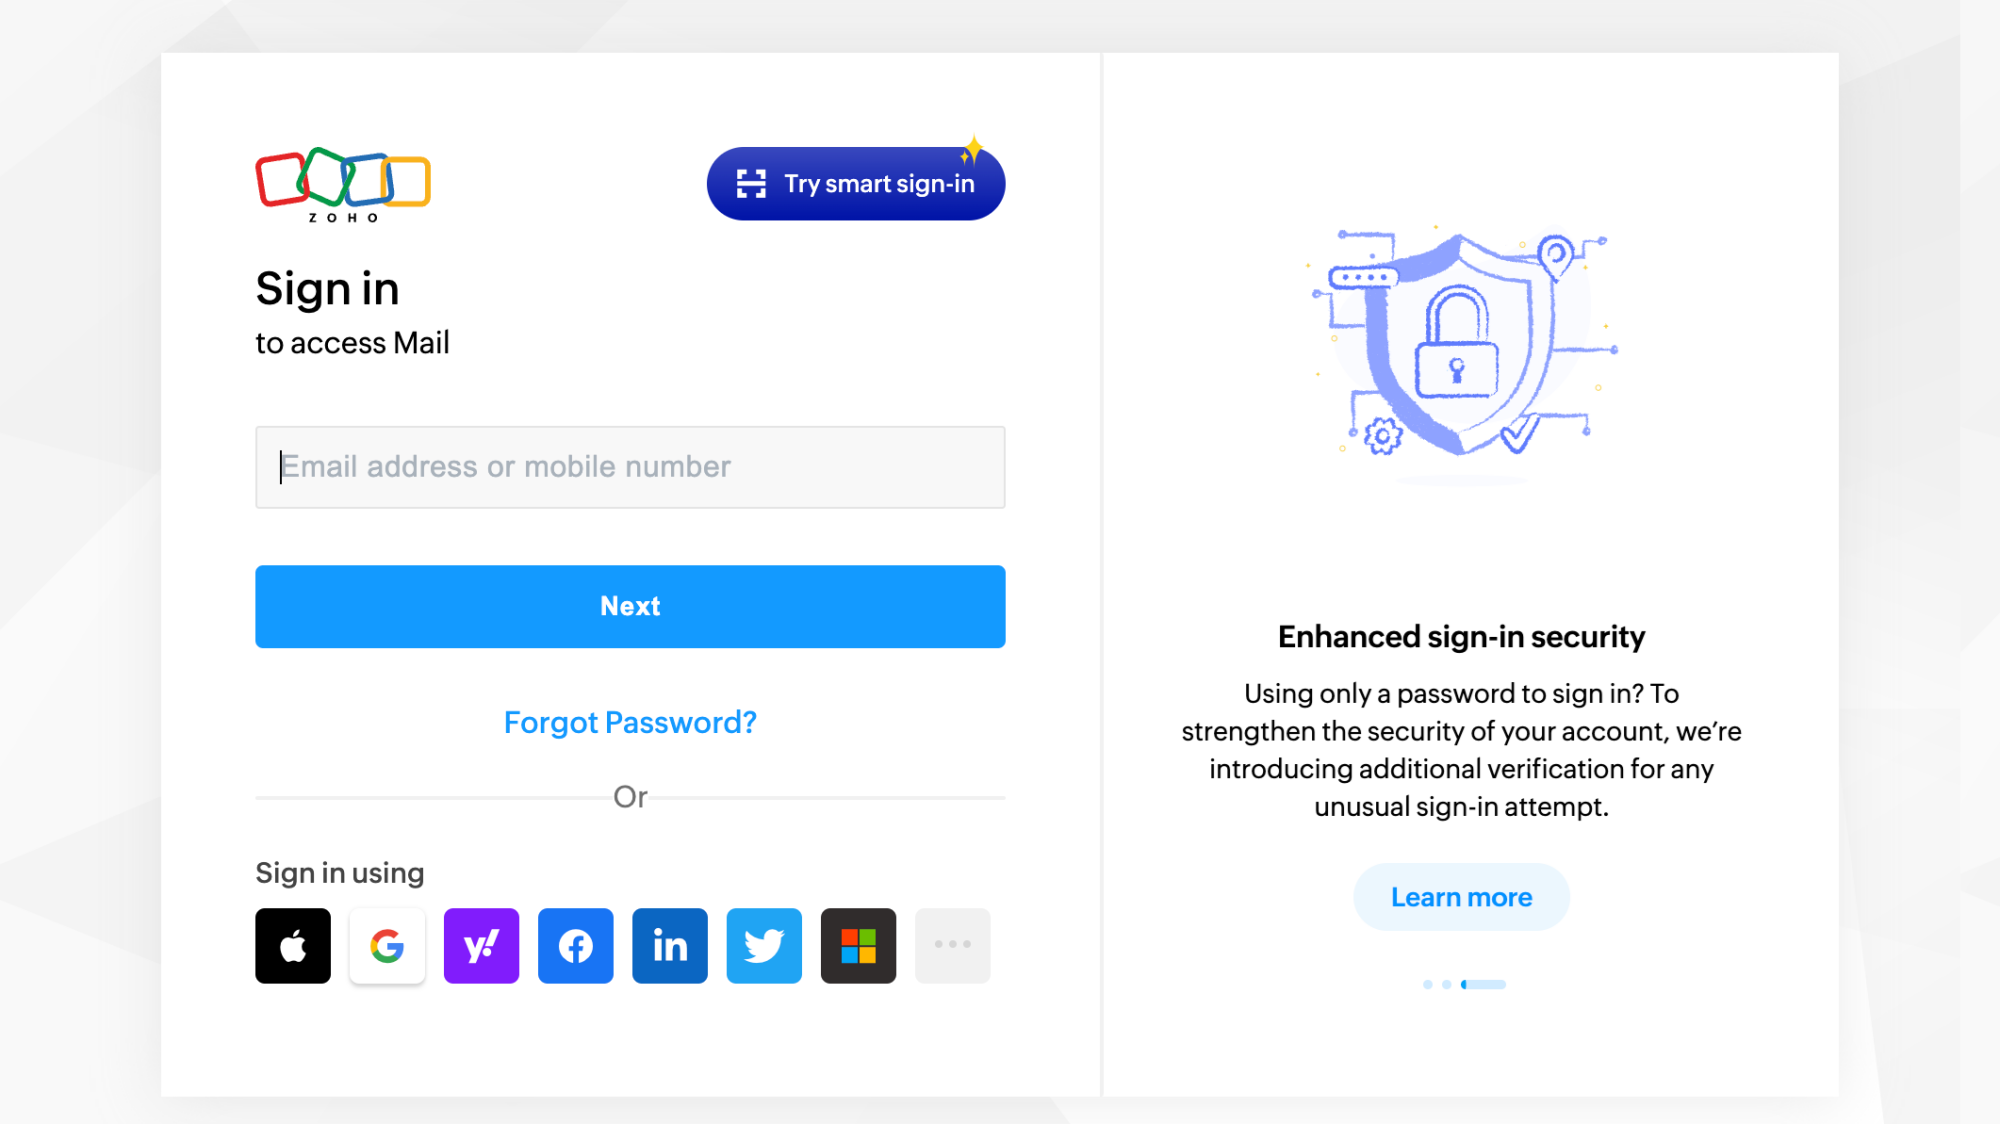
Get a professional email address on your Android device to build trust and enhance communication with clients and colleagues. This step-by-step guide will show you how to set up a free business email on Android quickly and efficiently. Whether you're an entrepreneur or a corporate professional, this information will empower you to present a more polished and credible image for your business. Let's get started!
The Advantages of a Business Email for Professionals
Not convinced of the importance of a business email? Here are some advantages you'll gain by setting up a professional email on your Android device:
-
Branding and Trust: A business email directly associated with your domain name conveys professionalism and authenticity. Customers and clients are more likely to trust emails that mirror the name of your business, enhancing your brand recognition and reputation.
-
Identity Clarity: A business email eliminates any confusion or uncertainties about your identity. Using a personal email address for business communications can be acceptable, but it sometimes creates the misconception that you're just a hobbyist or freelancer without a established business. A business email address clearly signifies that you take your work seriously and operate within a professional framework.
-
Communication Continuity: Interacting with customers and partners via a business email account integrates seamlessly with social media profiles, websites, and other platforms. This cohesion ensures that your business remains accessible and easy to contact, reinforcing a cohesive brand image across all platforms.
-
Professionalism and Legitimacy: Whether you're reaching out to investors, applying for opportunities, or dealing with customers, a business email will show that you're serious about your work and want to be regarded as a professional.
-
Brand Extension: Your business email is an extension of your brand's identity. It provides a more formal and official channel for communication, ensuring that messages are handled professionally and consistently. By setting up a business email, you motivate your audience to take you seriously and treat your business with the respect and attention it deserves.
Step-1: Prepare Your Business Email Address
Before setting up your business email on your Android device, ensure you have the following:
-
A verified and established business domain. If you don't own one, you can purchase a domain from domain providers like GoDaddy, Namecheap, or Google Domains.
-
An email hosting service that allows you to use your domain name. Free options are available, but paid services usually offer more storage and features. Consider Office 365 Business Basic, Zoho Mail, or G Suite for business, or consult your IT department for recommendations.
-
Administrative access to your business email account's settings, which may be necessary to set up the email on your device.
Step-2: Add Your Business Email Account to Your Android Device
-
Open the Settings app on your Android device. The steps below may vary slightly depending on your device's manufacturer, but the general process is similar across most Android phones.
-
Scroll down and tap the 'Accounts' or 'Users' option. This setting may be named 'Accounts & Backup' on some devices.
-
Tap the 'Add Account' or 'Add User' option.
-
Choose the type of account you want to add. Look for the email option, which may be labeled as 'Personal (IMAP/POP)'. If presented with a list of email providers, select 'Other'.
-
Enter your business email address and tap 'Next' or 'Done'.
-
Set up your email server settings. You can usually find these in your email host's documentation or through a Google search. Common setups include IMAP or POP3.
-
Enter the required outgoing server settings. These settings will usually be different from the inbound settings, so ensure you input both correctly.
-
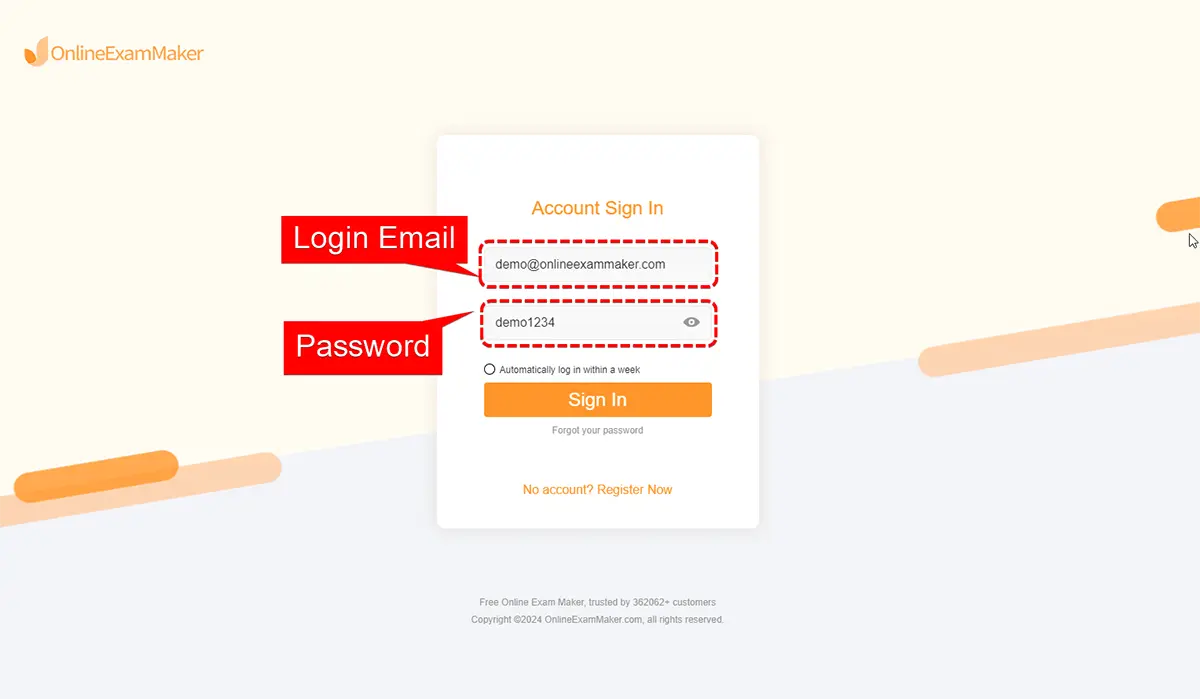
Fill in your login information, including your email address and password. Ensure you use the correct password for your business email account.
-
Select any additional settings according to your preferences, such as sync frequency and notification options. This step may vary depending on the device and email app version.
-
Tap 'Next' or 'Done' to complete the setup.
Step-3: Verify and Use Your Business Email on Android
-
Open your device's email app and navigate to your inbox.
-
If you received a verification email during the setup process, find the message and verify your email to complete the process.
-
If you didn't receive a verification email, check your email host's documentation or reach out to their support to ensure your account is correctly set up and verified.
-
You should now be able to send and receive emails using your new business email address.
Conclusion
Setting up a free business email on Android is a straightforward process that allows you to project a professional image to the world. By following the steps outlined in this guide, you can create a cohesive, credible presence that reinforces your brand and encourages success in your business endeavors.
Remember that adding your business email to your LinkedIn and other professional profiles further reinforces your commitment to professionalism and credibility.
Now that you've set up your business email, you can start communicating with colleagues, customers, and partners with confidence, knowing that you've taken another step towards presenting your business in the best possible light.
Thanks for reading, and remember to subscribe for more articles on topics like these.


